
Thursday, October 28, 2010
Saturday, October 16, 2010
So...yeah....I haven't blogged in forever...
Sorry everyone....school has taken over my life once again....and we have moved...just started my craft room and it looks awesome so far....I'm going to start making cards again soon! I can't wait!
;0)

;0)
Monday, August 23, 2010
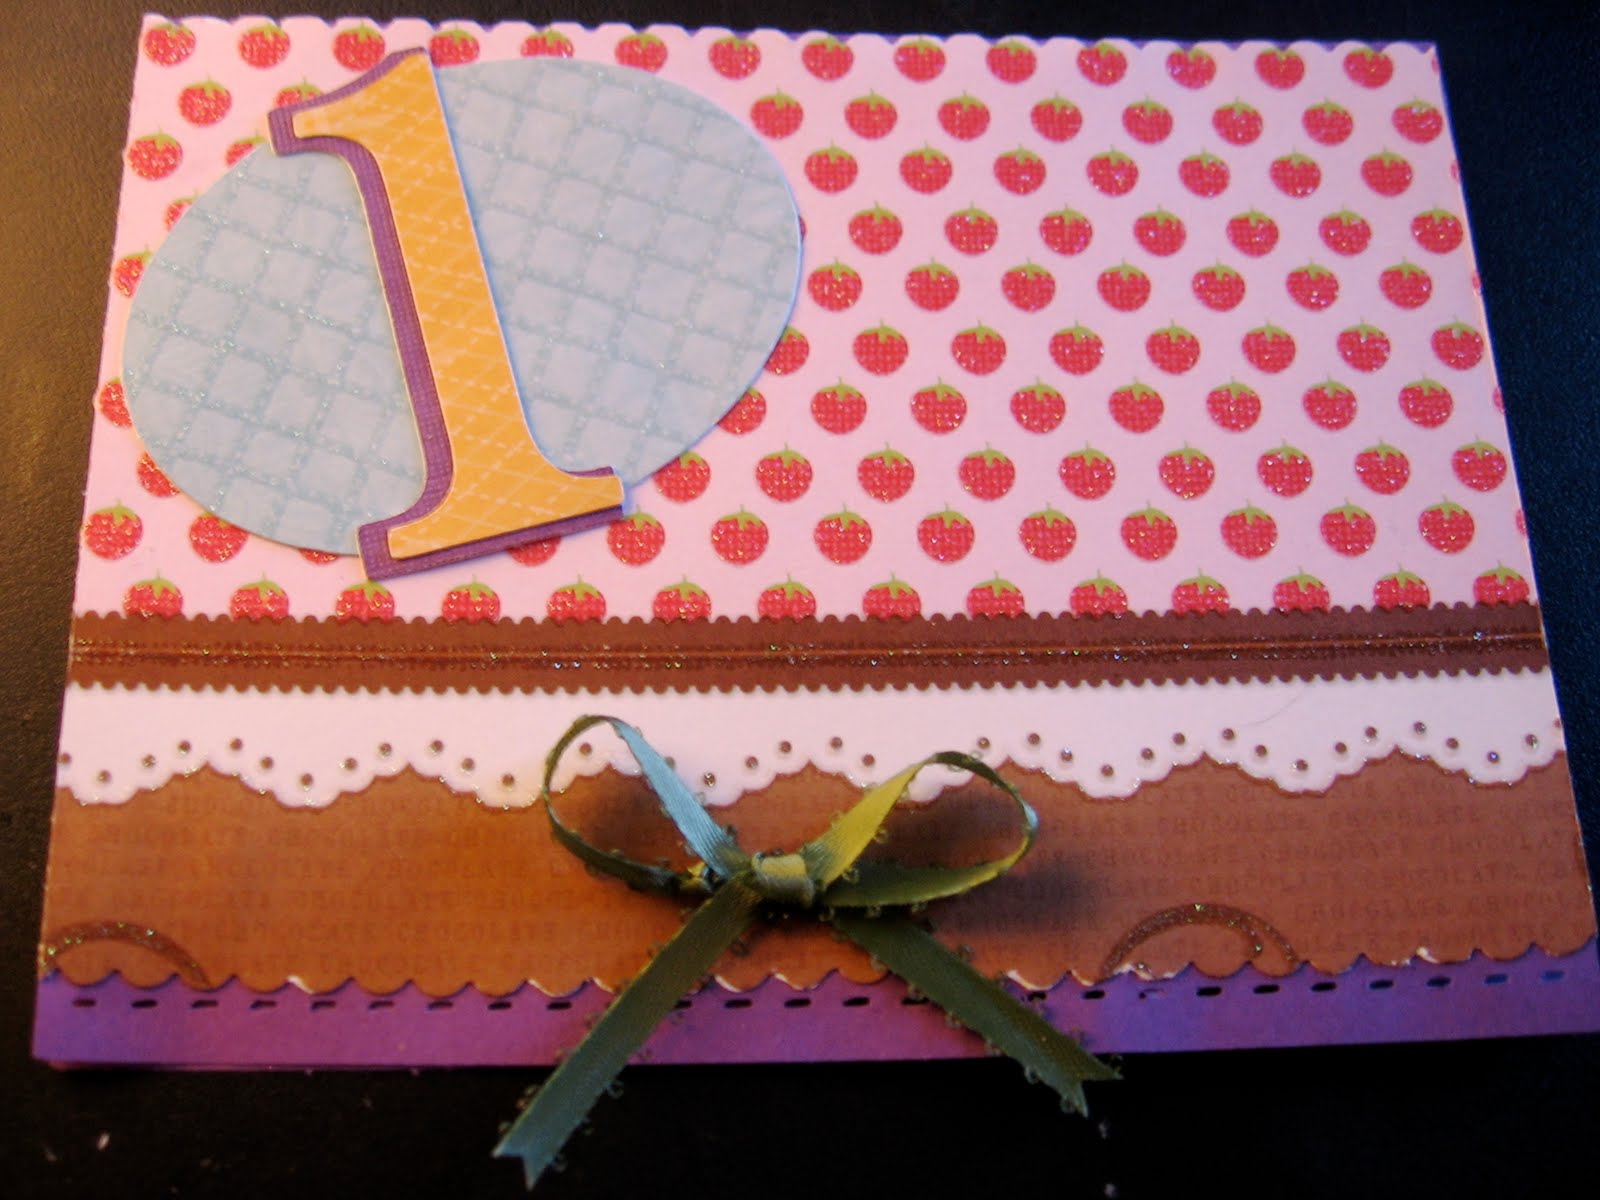
That First Birthday Card I Promised...
So here are the pics from that first birthday card that I promised to show you all a few months ago!


Thursday, August 19, 2010
SUMMER SCHOOL FINALLY OVER!!!
SUMMER SCHOOL IS FINALLY OVER! After taking 6 summer classes in a row, and also taking the first teacher certification exam and PASSING, I'm EXHAUSTED!!! Maybe now I'll have time to be creative again! School starts again on the 30th...
Tuesday, June 8, 2010
It's been a while....
Sorry to my followers out there for not posting the 1st birthday card that I promised to post yet! I was just able to give her the gift, so possibly sometime this weekend I will be able to share...Things are a bit hectic since my summer courses started....
I'll keep you all updated!
;0)
I'll keep you all updated!
;0)
Sunday, May 23, 2010
Earrings


So...My camera did not want to focus yesterday.
Sorry for the horrible photos.
I made these earrings for my cousin's graduation present. I made another pair but you couldn't even tell what they looked like in the photos so I won't bother putting it up. I'm going to try to get better pics of these later!!
These were a lot harder to make than I thought they would be. It took a lot of beads falling off and breaking wires, but I think that it was worth it!
Saturday, May 15, 2010
Origami Favor Boxes!

When I hear the word Origami I automatically think of cranes.
Instead I found out how to make these cute boxes.
These boxes don't require any glue or tape at all, and are perfect for favors or candy holders at parties. You can even fold up two ends and connect them, and fold down the two other ends to make a cute little basket.
The Jellybean paper is from the Sweet Stack from DCWV.

The lined paper is from the Latte Stack from DCWV.

The paper was a little too thick for this project. I'll have to find the right type through trial and error.
I can't wait to make more!!
Sunday, April 25, 2010
My First Necklace!!!


I made this necklace for my sister's birthday!
She loved it (after receiving it a week late since the post office wouldn't leave it at her leasing office when it wouldn't fit into her mailbox!!!)
Oh well...she was excited when she finally got the package!
I just LOVE the beads that I used!
They are "Bead Gallery" beads, and I found them at Michael's after what seemed like forever...I was overwhelmed at all of the choices that they displayed!
My mom finally spotted the large bead to go with the smaller round ones.
So, I had NO IDEA how to even start a necklace...but I figured it couldn't be too far from the basics of making earrings. I was doing alright until I had to figure out how to put the chain on....it was difficult wrapping the wire through the rings of the chain....3 hours later........haha....but it was worth it!
I wanted to make the clasp area in the back a little more exciting, so I added one of the smaller round beads. I think it looks really nice!
I also made some Earrings to match....

I can't wait to make some more!!!!
Saturday, April 17, 2010
A New Card!!!

Here is the latest card that I made for my grandmother's 89th Birthday!!!
Of course, I used my awesome
Here is how I made the card:
I started out the same way that I have started out on all of my cards. I set the size dial to 6" and using the Cricut Plantin SchoolBook Cartridge, I pressed the card button.
I would use a larger number, but that is the biggest size that it will cut on my machine. I like to work with the bigger cards because I have more room to put cute details on them.

I would use a larger number, but that is the biggest size that it will cut on my machine. I like to work with the bigger cards because I have more room to put cute details on them.
Next, I used the same Latte Stack that I have been using for all of my cards so far. I cut out a 6" rectangle using the beautiful pattern you see on the front of the card.
There are so many great options in this stack.
I like the look of the Tall Ball function with the letters,
so I used that at 1" for "happy birthday"
Behind the "happy birthday" greeting, I cut out a couple of tags (sorry I don't remember the size) and used a decorative pair of scissors to cut around them.
I used the Cricut Serenade Solutions Cartridge to cut out the butterfly and the scroll. I played with the layer function and I think that it worked out well!
This is my favorite card that I have made so far!
This is my favorite card that I have made so far!

Subscribe to:
Comments (Atom)


